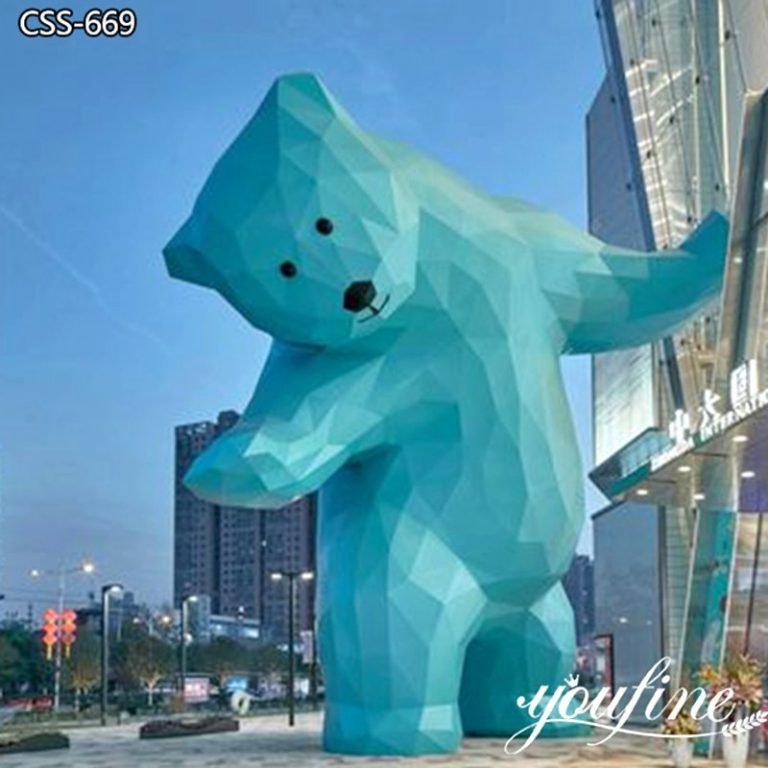
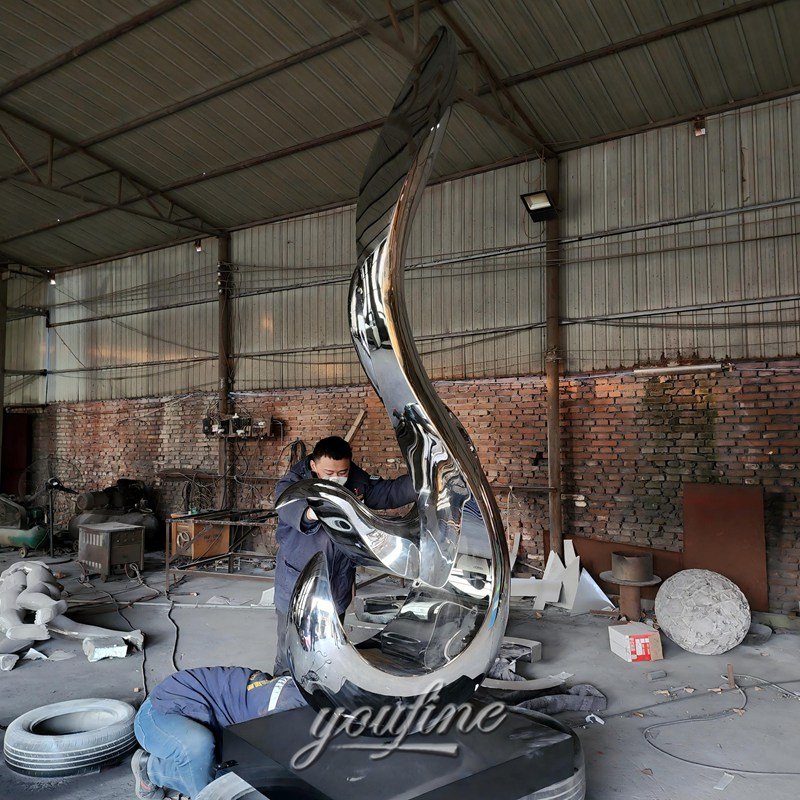
A mirror-finish stainless steel sculpture is an ideal choice for creating a beautiful balance between art, people, and the surrounding environment. Its reflective surface captures light, movement, architecture, and nature, allowing the artwork to visually interact with everything around it. When you stand in front of a mirror-polished stainless steel sculpture, you do not just see the sculpture itself—you also see yourself and the world reflected in it.
Because of this unique visual effect, mirror-finish stainless steel sculptures are widely used in public art, luxury decoration, landscape design, commercial spaces, and private collections.
But many people ask the same question:How do you polish a stainless steel sculpture to a mirror finish?

The simple answer is: Sanding and Polishing.
However, achieving a true mirror finish requires patience, the right tools, and skilled workmanship.
Based on more than 40 years of experience in metal sculpture fabrication, we would like to share a practical guide to help you better understand the stainless steel mirror polishing process.
What is mirror finish?
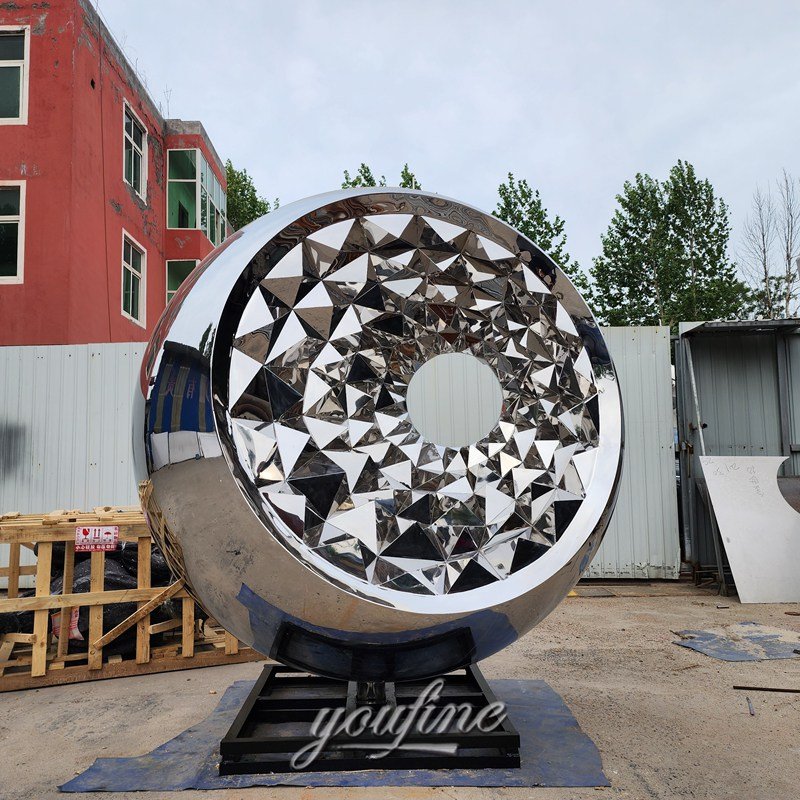
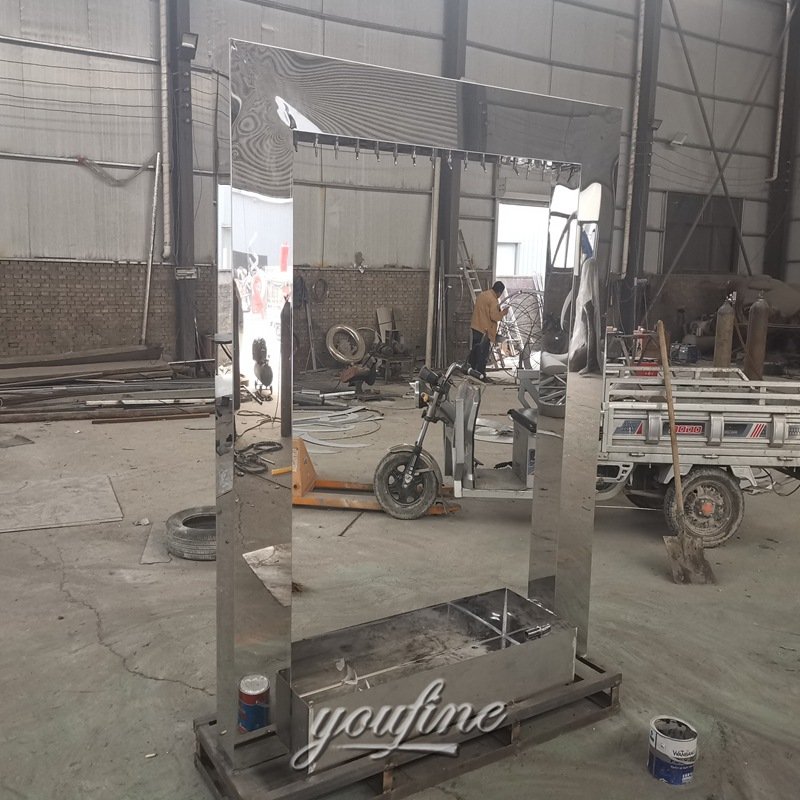
A mirror finish, also known as a No. 8 finish, is a highly polished stainless steel surface with excellent smoothness and reflectivity. It creates a bright, clear, mirror-like appearance and is one of the most popular surface treatments for decorative stainless steel sculptures.
commonly used for:
- Public art installations
- Architectural decoration
- Luxury interior and exterior projects
- High-end custom metal artwork
Tools and Materials Needed
Before polishing, prepare the following tools and materials:
- Safety gloves
- Protective goggles
- Soft cloths and microfiber cloths
- Soap and water
- A suitable degreaser like Acetone
- Sandpaper in multiple grits, such as: 60,120,240,400,600,800,1500,2500,3000,5000 if needed
- Sanding machine
- Polishing compound like aluminum polish
- Super fine steel wool or polishing pads
- Buffing wheel, polishing machine, or drill attachment
- Protective coating, wax, or stainless steel protectant
How to Polish Stainless Steel to a Mirror Finish
Step 1: Clean and Prepare the Surface
Before sanding, our artisans usually wash the sculpture with soapy water to remove dust, dirt, and other debris. They then wipe the surface with acetone to remove oil, grease, and residue, as any contamination left on the surface can cause new scratches during sanding.
Tips:
- Remember to clean the surface before changing sanding stages.
- Make sure the sculpture is completely dry before moving to the next step.
- Inspect weld seams and visible scratches before starting.
Step 2: Start with Coarse Sanding
Sanding is the first key step in creating a mirror finish on stainless steel.
At the beginning of the process, coarse sanding is used to remove:
- Deep scratches
- Weld marks
- Fabrication lines
Depending on the condition and materials (sus304,sus316) of the sculpture, you can begin with 60 to 120 grit sandpaper.
For professional-quality work, the goal of coarse sanding is to make the surface flat, smooth, and visually uniform before moving on to finer grits.
Tips:
- Sand evenly and slowly across the surface.
- Keep the pressure light to moderate to avoid uneven wear.
- For welded areas, spend extra time making the transition smooth.
Step 3: Continue with Fine Sanding
After coarse sanding, the surface should be refined gradually with finer grits.
Our factory artisans usually follow this sequence when sanding:
- 240 grit
- 400 grit
- 600 grit
- 800 grit
- 1500 grit
- 2500 grit
- 3000 grit
- 5000 grit if an extra-fine finish is required
At this stage, the purpose is to remove all sanding lines left by the previous grit and create an increasingly smooth surface.
Important sanding tips:
- Move from one grit to the next step by step to prevent deep scratches.
- Sand slowly and consistently.
- Use light to medium pressure.
- Check the surface carefully under strong lighting.
- Before changing to a finer grit, make sure all scratches from the previous grit are fully removed.
In some cases, applying a sanding lubricant can help reduce unnecessary lines and improve smoothness during the process.
How many sanding rounds are needed?
In our workshop experience, the sanding process usually requires 4 to 8 rounds, depending on:
- The grade of stainless steel
- The original surface condition
- The quality standard required
Step 4: Polish the Surface
Once sanding is completed, polishing is the next step that creates the charming mirror shine.
To this step, they may then use:
•fine steel wool, if appropriate
•a buffing wheel
•a drill-mounted polishing attachment
Polishing process:
Our artisan usually use Aluminum Polish, which works very well on stainless steel, and applied it to super-fine steel wool. And then they rub the polish into the stainless steel until it turns black and allow the drill to work over back and back until they achieve a charming mirror- polish sculpture.
Tips for polishing:
- Use a clean polishing pad
- Work in sections on large sculptures
- Check the reflection from different angles
- Repeat polishing if needed for a higher gloss leve
Step 5: Apply a Protective Layer
After polishing, it is recommended to apply a protective coating to help preserve the mirror finish and extend the lifespan of the sculpture.
A protective layer can help:
- Enhance the sculpture’s durability and corrosion resistance.
- Improve weather resistance for outdoor use
- Make regular cleaning easier
This is especially important for outdoor stainless steel sculptures exposed to rain, dust, pollution, and changing temperatures.
How to Maintain a Mirror-Polished Stainless Steel Sculpture
One reason stainless steel sculptures are so popular is their excellent corrosion resistance and durability. In most cases, simple regular maintenance is enough to keep the surface looking beautiful.
Here are some tips:
- Use a microfiber cloth for regular cleaning
- Avoid rough cloths or abrasive tools
- Keep the sculpture away from strong acidic or corrosive chemicals such as bleach and chlorine
- Reapply metal polish occasionally if needed
- For outdoor sculptures, inspect the surface regularly for stains, water marks, or environmental buildup
Final Thoughts
Polishing stainless steel to a mirror finish is not just a simple surface treatment—it is a careful process that combines cleaning, sanding, polishing, and protection. A true mirror finish requires patience, attention to detail, and the right sequence of abrasives and polishing materials.
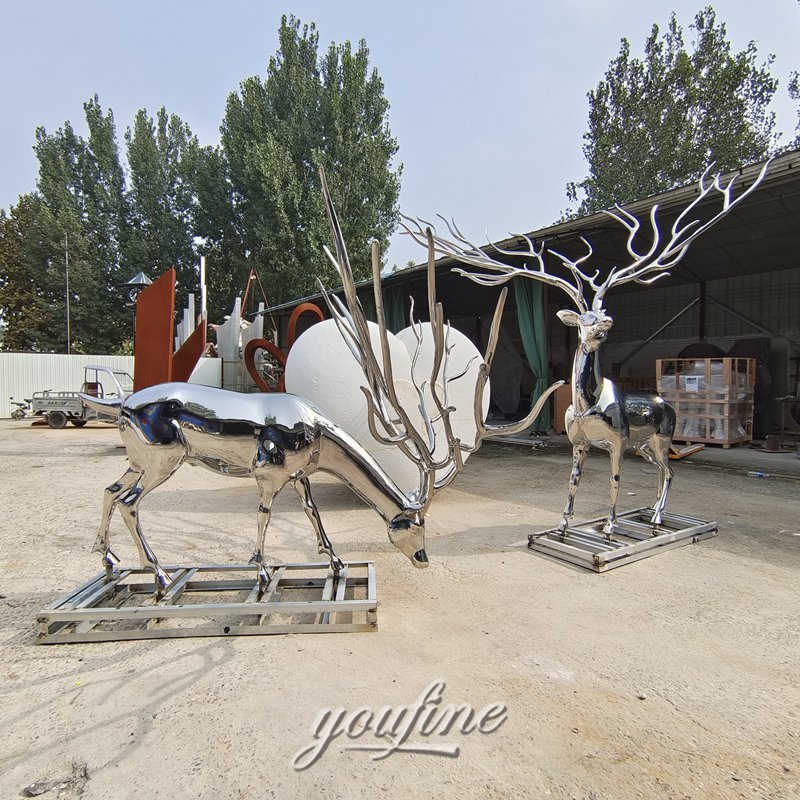
When done it properly, you will see a stainless steel sculpture with a striking reflective surface that connects art, people, and the environment in a uniquely dynamic and harmonious way.
If you are looking for a custom mirror-polished stainless steel sculpture, feel free to contact our team. With over 40 years of experience in metal sculpture fabrication, we are committed to turning your creative ideas in your real life.